Creating SQL Server Project and Working with DACPAC file
This blog explains us how to create SQL Server Project using Visual Studio 2019 and working with DACPAC file.
SQL server project helps to version control the SQL objects as well as to deploy the changes to databases manually or thru automated pipelines.
DACPAC stands for Data Tire AppliCation Package. DACPAC file helps to create the SQL objects from an exisitng database to a SQL server project or to publish changes to a database.
SQL Server Project Creation:
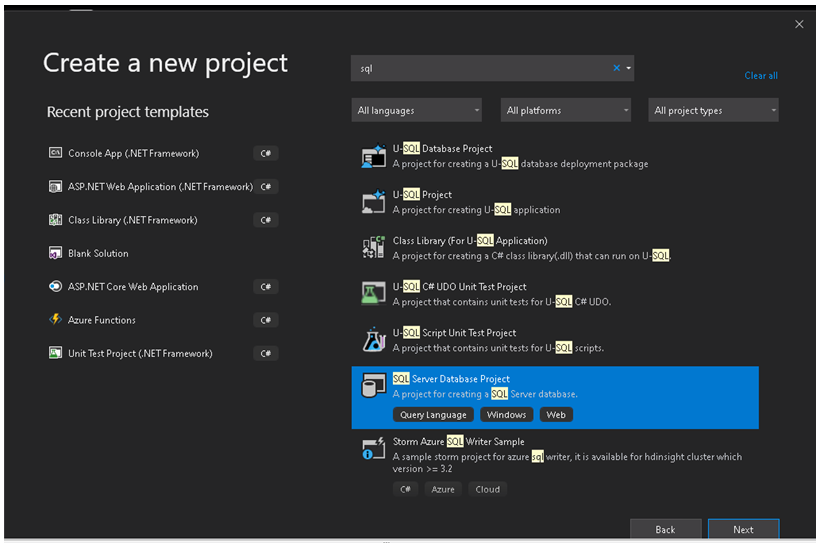
Using VS create new project option, search for 'SQL'.
Select SQL Server Database project.
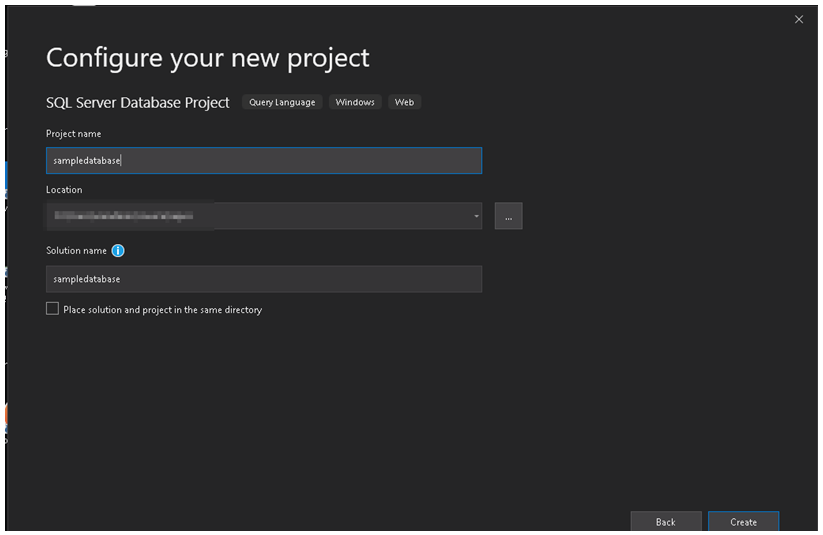
Give the project name,solution name and select location to create the project
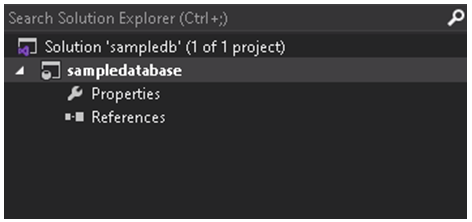
Once the project is created, the project is empty without any folder structure.
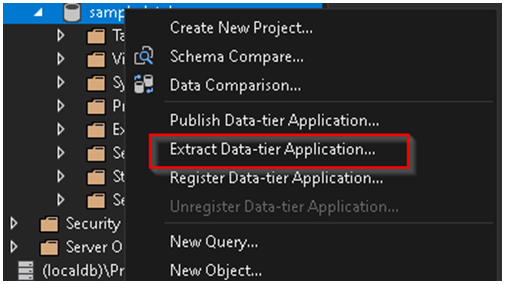
You can go ahead and create the folder structure you want but I prefer VS to create the folder structure using a DACPAC file from an existing database.
Create a database and table to export the DACPAC file.
I prefer to use localdb to create the database to start with and then publish the changes to other environments(dev or stage) either manually or thru automated pipelines.
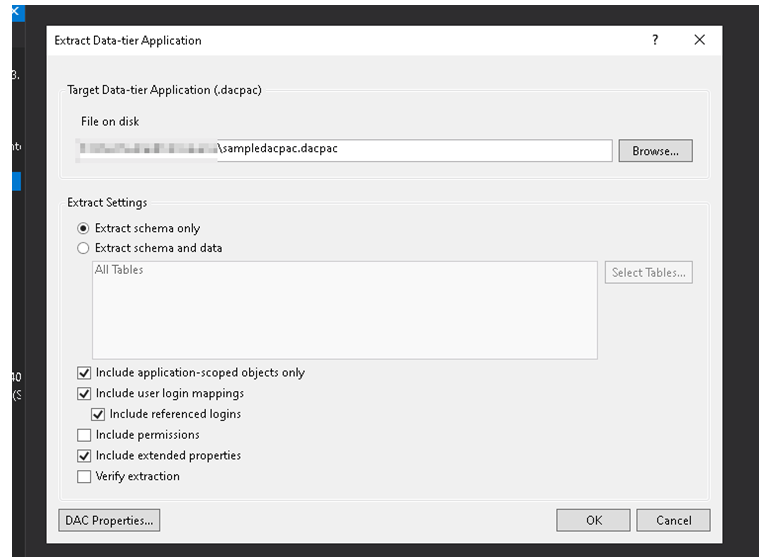
Exporting DACPAC:
I have an existing database with a table on my localdb.
You can export the DACPAC file from database to your local machine as below,
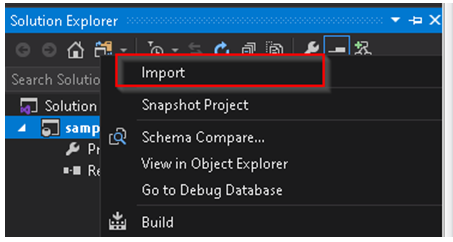
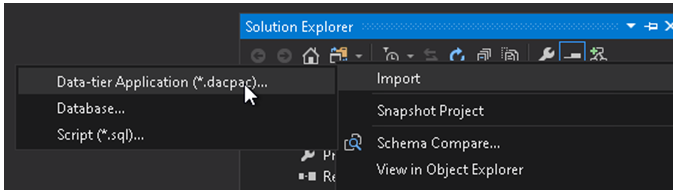
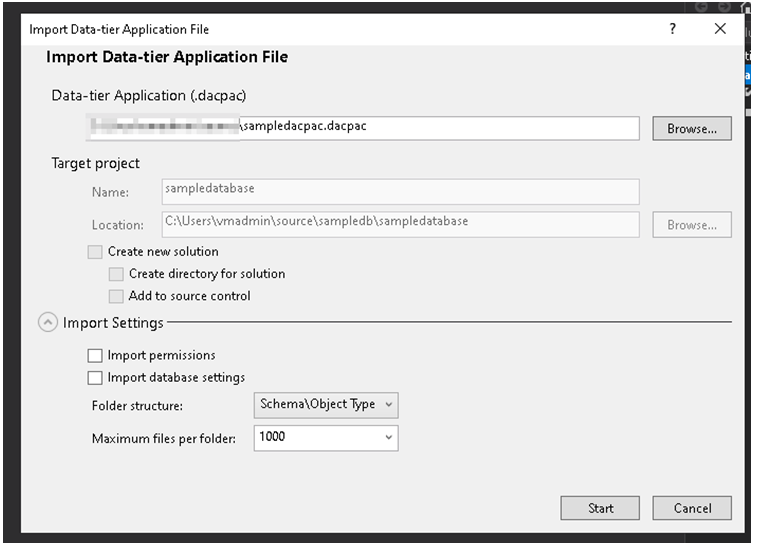
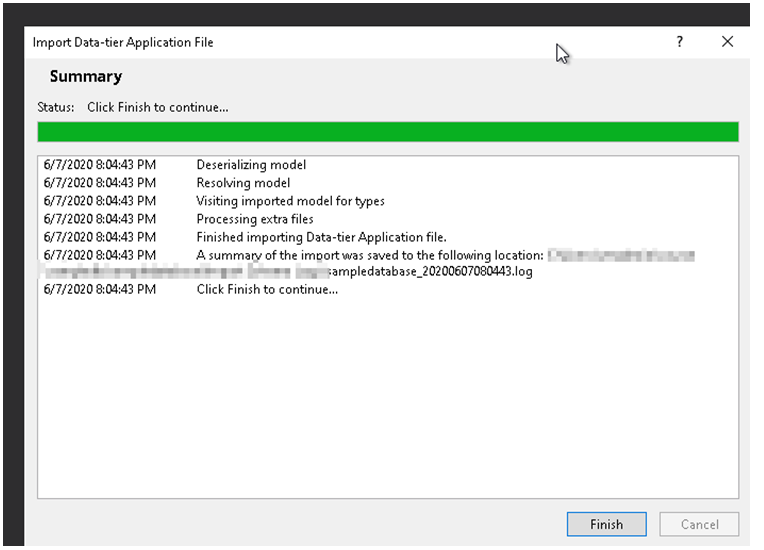
Importing DACPAC:
Once the DACPAC is available at your local machine, you can import that to your SQL server project you created to create the SQL objects and folder structure.
You can import the file as below,
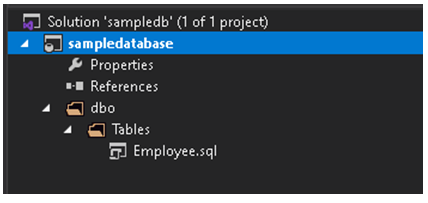
Finally your SQL server project is ready to add more SQL objects or to publish the changes to other environments either manually or thru automated pipelines which we will look into future posts.